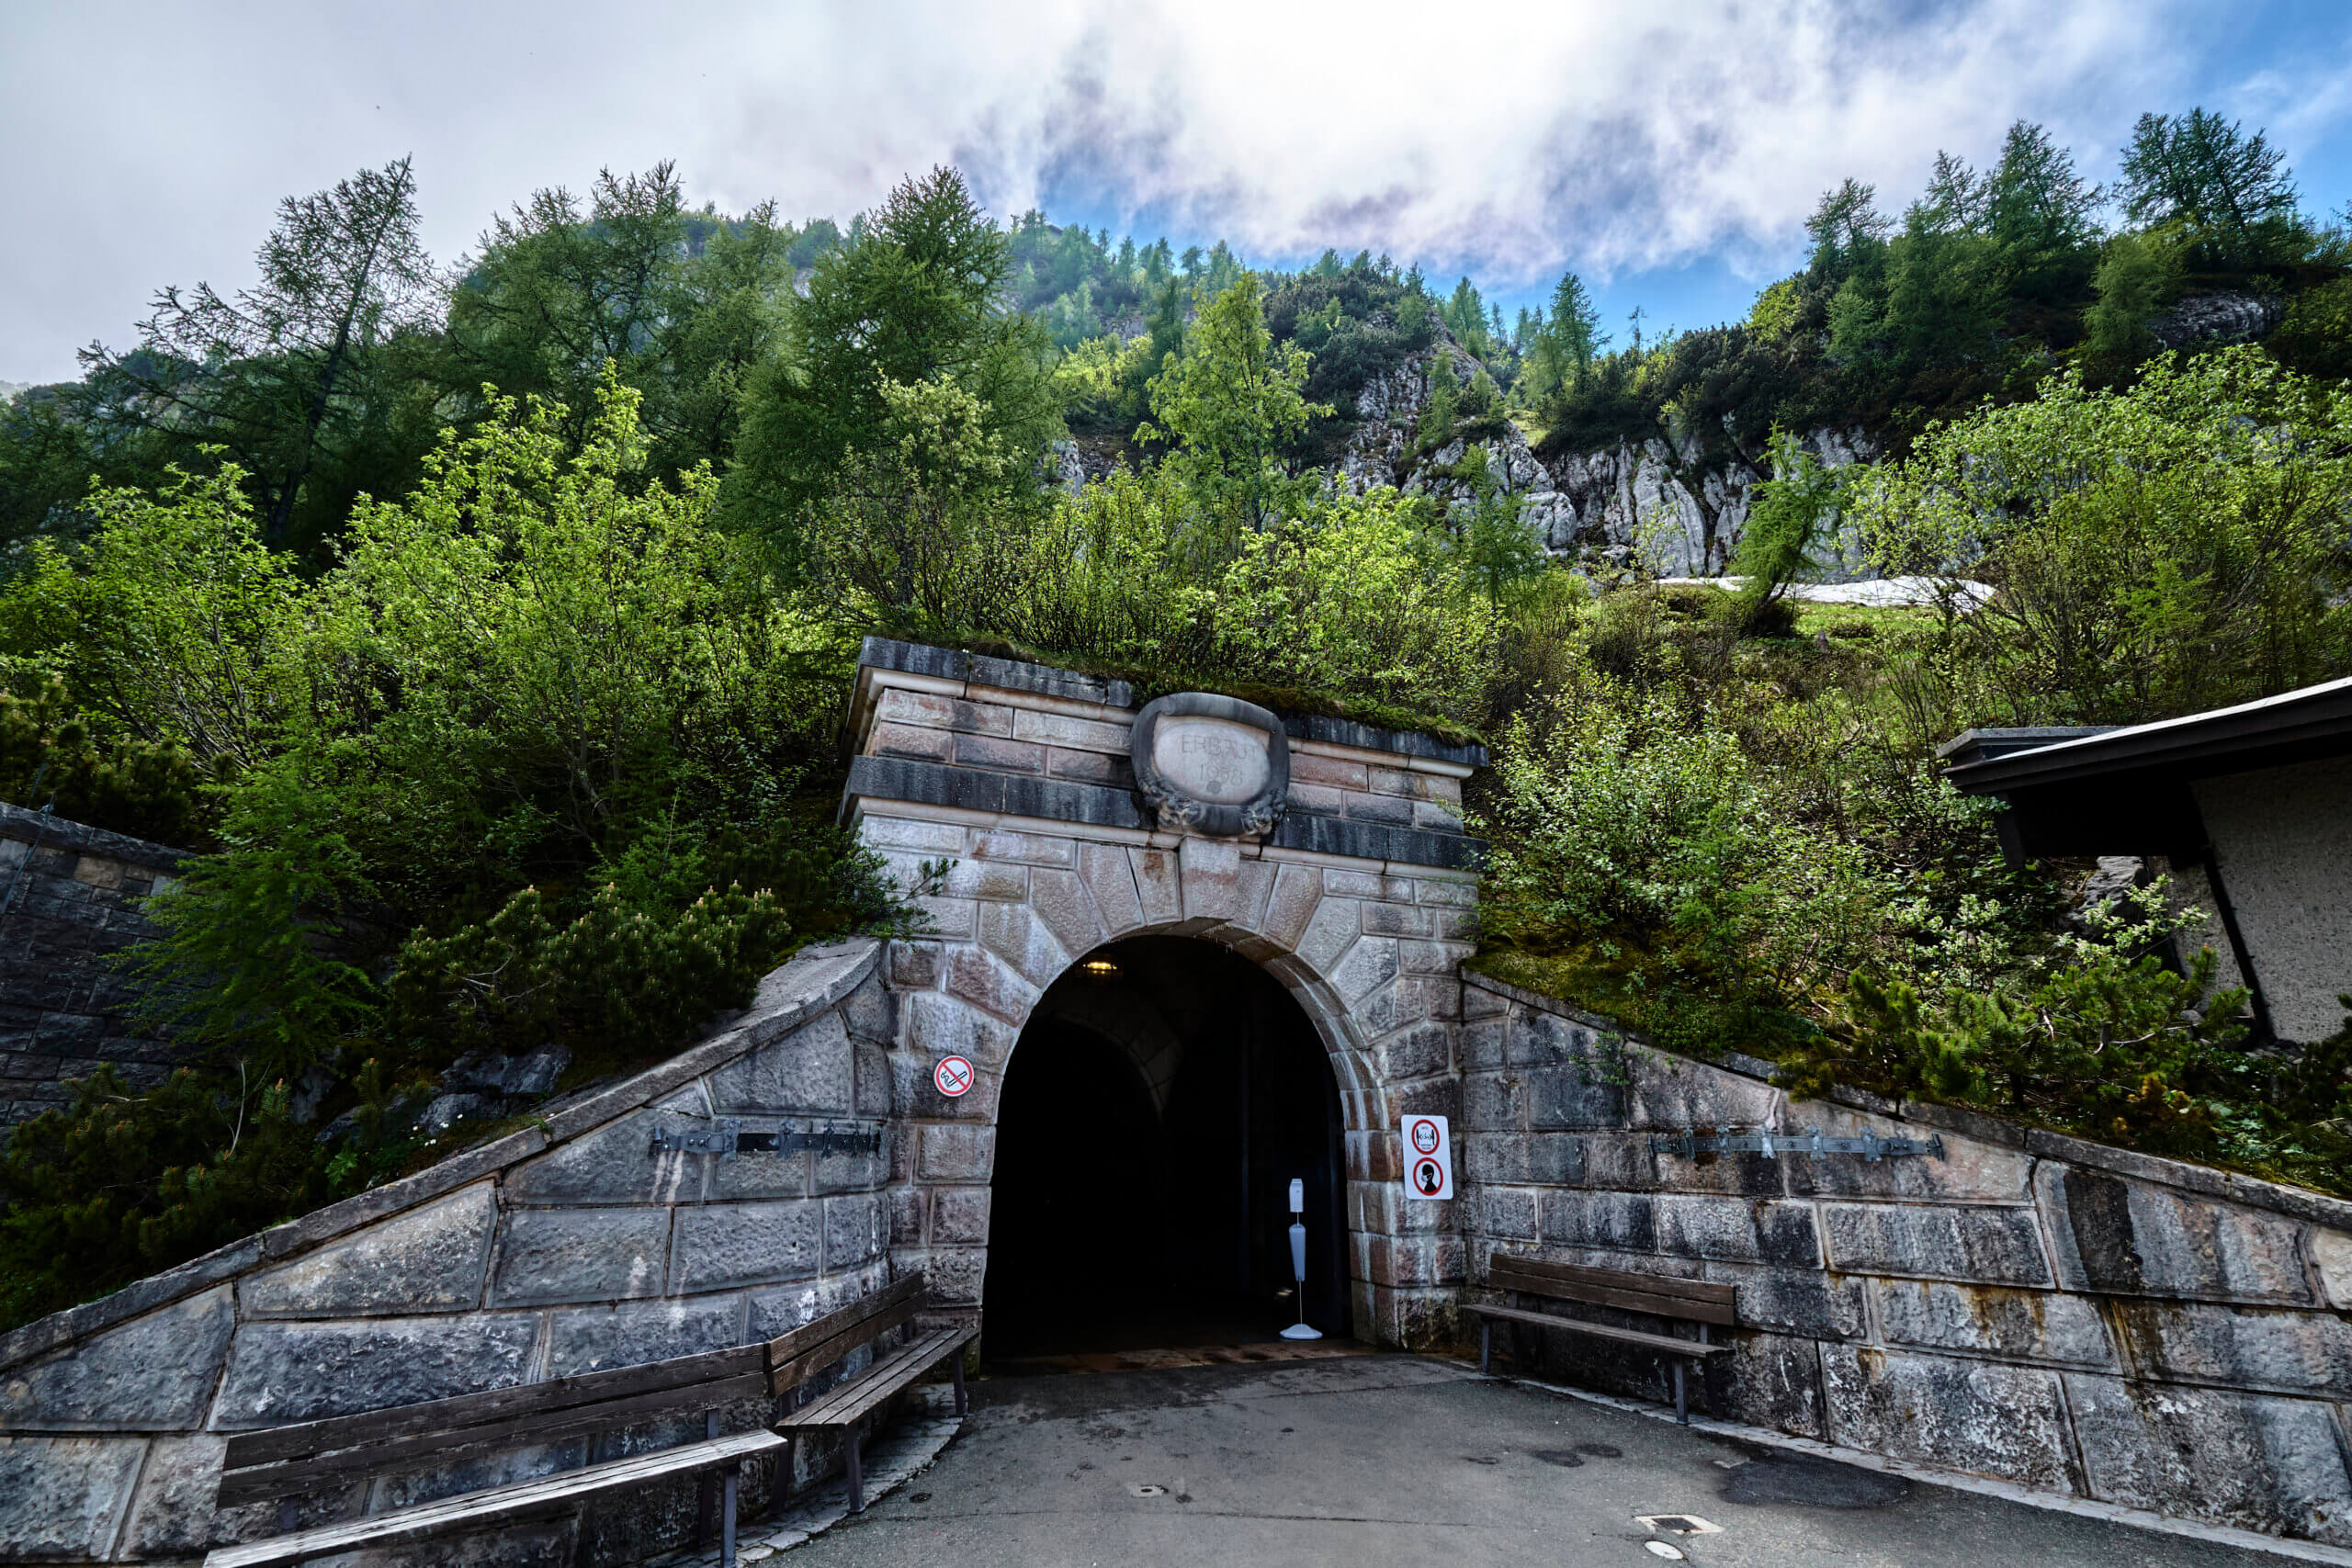
In this article you will gain some great hiking tips and hacks to hit the trail like a pro in no time and make your hike to the Eagle’s nest or any other hike a more memorable experience.
Who has gone to a hike to quickly realize that the trail is way harder than you thought it will be or you are scared of starting that hike that you always wanted to do because it seems very difficult. Luckily there are some things you can do that can have an immediate effect on your hiking performance and improve your likelihood of success therefore making your journey smoother and more enjoyable.
The following 6 hiking tips have been put to the test over many years spending time in the mountains:
- Light Shoes
- Nutrition and Hydration
- Pack Light
- Find the right Tempo
- Start Cool
- Tour Planning
Light Shoes
First tip for hiking is light shoes. This is probably one of the most important pieces of gear you can have when going on a hike because if you think about it your shoes are the one thing that connects you to the environment you are at all times.
A study conducted in 1984 by the US Army Research Institute looked at the energy spending differences between different weight footwears. The conclusion from this study is that 1 pound on your feet equals to 5 pounds in your back. This means that having heavy shoes on a hike can influence our energy expenditure on a negative way. If your footwear weights 1 pound more, you will be lifting this extra weight every step of the way. If you are taking 20,000 steps on a hike this weight difference accumulates over time. Fortunately for us, todays shoe manufactures have found a way of decreasing the weight of shoes on a significant way by using high-tech synthetic materials as opposed to traditional use of leather.
So, what can you do to make your hike easier. First look at the type of hike you are doing. The more technical the terrain the more support you might need, especially if you are starting out. If the ground is more compact and less technical like for example hiking up to the Eagle’s Nest your best choice is a pair of trail running shoes. They provide good grip, comfort and can be very versatile for travel, all in a lightweight package. Some favorite models are the sense ride shoes from Salomon or if you are looking for more cushioning go for the Hoka Speedgoat.
Nutrition and Hydration
A correct fueling strategy can make or break an outing. With a couple of basic guidelines, you will be ready to tackle any future hike you want to do.
The first thing you can consider is to take proper care of your nutrition and hydration prior to physical activity, this is a very important factor often overlooked.
Carb loading is a tried and tested method to increase performance. Athletes have been using this method since the 1960’s. The research published in The Journal of Sports Medicine (Burke et.al 2001) suggests 7 to 10 grams per kilogram of bodyweight for improvement in sports performance, meaning the delayed onset of fatigue. This means that by eating calory dense foods a day or two prior to your hike and having a good breakfast your muscles can store all the fuel they will need to take you farther and to new heights.
The same applies to hydration. The best is to start your hike fully hydrated and then just take enough with you to maintain your levels of hydration. Once on the trail a good rule of thumb is to have a sip of water every 15 minutes, that ensures that your body can absorb as much of the water as possible.
How much water you need? The answer is it depends. Your bodyweight, the weather conditions and intensity of exercise are some variables to take into consideration. A very good resource is to use the so called Galpin Equation:
- Body weight (in lbs.) divided by 30 = number of ounces to consume every 15-20 minutes
- Body weight (in kg.) × 2 = number of mL to consume every 15-20 minutes
Further information on how to optimize your water intake can be found here.
On the hike is always good to bring something to keep your energy levels up, here you have many options like nuts and fruits and even sport gels and bars although nothing beats a sneakers bar once you are on the trail.
Pack Light
The following tip is somewhat related to the previous one. Being well-hydrated and nourished reduces the necessity to carry excessive food. Water, in particular, can add significant weight. Often, hikers seen laboring on uphill trails may be overburdened, partly due to carrying a large backpack.
On a day hike such as the Eagle’s Nest you will be good carrying the following:
- A small bottle of water and a few chocolate bars
- An extra T-shirt to change to on top
- A wind shirt or waterproof layer depending on the weather
- A light fleece jacket if the weather is cooler that day.
- All your personals.
All this should fit inside a small 12-liter backpack.
Find the right Tempo
Slow is smooth and smooth is fast! Many people specially when they are starting in with hikes are felling fresh and rested so they start strong and fast. Only to realize that soon they need to stop to catch air. If this process is repeated many times during a hike it can lead to sudden exhaustion.
The best you can do is to shift to a gear lower and start with a pace that feels comfortable and that you can maintain for a longer period of time. This will give you the change to have a steady rhythm on the hike and take fewer breaks. Another great benefit is that by slowing down you can appreciate the beauty of the surrounding you are hiking.
Start Cool
Usually when we start hiking, we arrive to the head of the trail on some sort of transportation and its usually in the morning hours. While we are going thru the final preparations to start, we feel cold, so you wear all your layers.
As soon as we start hiking and you might be in the first 10 minutes of the hike you will have to do your first pit stop. The extra layers you were wearing are now wet because of overheating. Once you take the layers off and store them in the backpack it will be difficult for them to dry.
That is why our next tip is to be bold and star cold. Just before starting take off your extra layers and start hiking. You will notice how your body slowly warms up and get to an optimal working temperature. Not only does this feel more pleasant but you jacket, and fleece will stay dry for when you need it.
Tour Planning
Perhaps one of the more powerful tools we have is tour planning.
The hike duration correlates with the distance of the objective. Know beforehand how long the hike is so you can think about how much food and water you need. Here is a good idea to look at a map and see if there are potential places to refuel. This could be a hut or an alpine stream. Finding these places on the way can help you travel lighter.
Consider the time of the year and weather conditions. Here in the Alps during the start of the spring you can have warm days in the valley but winter conditions in the mountains. You can expect similar conditions at during autumn.
Having reviewed the essential information, you’re now equipped to organize an enjoyable hiking experience. Select trails carefully, study the environment, pack the essentials, and understand safety measures for your journey. Whether embarking solo or with companions, thorough preparation is key to a rewarding adventure.

